
The finish is not a decoration added after the design is complete. Fold direction changes the reading sequence. Binding changes the usable margin, page count and cover construction. Paper grain changes how a cover opens. Foil, embossing and varnish need their own production layers, minimum details and registration tolerance.
Make these decisions early and the printer can help turn them into something convincing and repeatable. Make them at the end and a beautiful layout can become expensive, fragile or impossible to manufacture. This guide explains the decisions a designer needs to make; the printer’s dieline, stock swatch, finishing specifications and proof remain the authority for a real job.
Start with the object, not the effect
Before choosing a foil colour or an impressive paper name, describe the finished piece in plain production terms:
- What will the reader do with it: scan it, carry it, mail it, keep it, write in it or display it?
- What is the finished size, closed size and, for a fold-out, opened size?
- How many pages, panels or sheets are required, and can content change that count?
- How often will it be handled, opened flat, carried in a pocket or exposed to friction?
- Does the project need to lie flat, accept writing, show photographs, survive postage or feel particularly tactile?
- Which process, budget, quantity and deadline are realistic?
These answers narrow the choices. A 12-page event programme and a 240-page annual report should not begin with the same binding conversation. A premium invitation may benefit from a single well-chosen finish; a price list needs robust legibility and economical reproduction first. The same principle applies to a small format: our business card design guide treats stock and finishing as choices that support a card’s communication, not as decoration.
Choose the fold before setting the grid
A fold creates panels, not simply columns. Folded panels often need unequal widths so that one panel can tuck inside another without buckling. The fold line also creates a mechanical stress point and a potential reading interruption. Ask the printer for a panel diagram or template before finalising a multi-panel layout. If a project begins on a larger press sheet, RA and SRA press-sheet sizes explain why the production sheet is not the finished panel size.
| Fold type | Good for | Design consideration |
|---|---|---|
| Half fold | Cards, small brochures, invitations | The fold becomes the spine; keep critical details clear of it. |
| Gate fold | Invitations, launches, reveal moments | The two outer panels close over a centre panel and may require fold compensation. |
| Roll fold | Step-by-step stories, menus, maps | The inside panels usually need to be slightly narrower. |
| Accordion / concertina | Timelines, maps, portfolios | Every panel can be viewed as a unit; plan the reading direction carefully. |
| Z fold | Comparison or sequential information | It opens flat more easily than a roll fold. |
| French fold | Posters, inserts, premium stationery | The folded edge may create a pocket or uncut edge; decide whether it will be sealed or trimmed. |
Use a paper dummy early: print the panels on ordinary paper at final size, fold it and write the panel names on it. It reveals backwards panels, awkward crossovers and whether the cover really lands where the reader expects. A screen proof cannot replace this test.
Fold against the grain where practical
Paper has a grain direction: fibres generally align with the direction in which the sheet was made. Folding parallel to the grain usually gives a cleaner fold and reduces cracking, particularly on heavy, coated or digitally printed stocks. The printer can confirm grain direction for the chosen sheet and advise whether scoring is required.
Scoring compresses or displaces fibres to create a controlled fold. It is not a cosmetic extra on a heavy cover; it may be the difference between a crisp crease and a cracked field of ink. Do not promise an unscored, hairline-sharp fold on a dark, heavily inked board before seeing a test.
Binding determines page count and margin
Binding is a structural decision. Choose it with the final-ish page count and paper in mind, then let the choice influence the document setup. The printer needs the closed size, finished page count including blank pages, text and cover stock, paper weight, whether pages are supplied as single pages, and whether the document needs to open flat.
| Method | Best suited to | Strengths | Watch for |
|---|---|---|---|
| Saddle stitch | Slim booklets, programmes, zines | Economical, opens well, no spine glue | Page count normally works in multiples of four; creep affects inner pages. |
| Perfect binding | Catalogues, reports, softcover books | Square spine, professional shelf presence | Needs enough spine thickness; inner margin is less generous; glue and stock affect durability. |
| PUR perfect binding | Frequently handled or demanding softcovers | Stronger, more flexible adhesive bond than conventional EVA in many applications | More cost/time; confirm the printer’s minimum thickness and turnaround. |
| Thread sewn / section sewn | Books designed for longevity | Durable sections and good opening behaviour | Higher cost and production time; requires early planning. |
| Wire-O / spiral | Manuals, notebooks, calendars | Opens flat or folds back on itself | Holes consume margin; edge is exposed and cover choices differ. |
| Case binding | High-value books and editions | Durable hard cover and premium feel | Complex cover, endpaper, hinge and spine requirements; build a physical dummy. |
Saddle stitch: plan for four-page increments and creep
Saddle stitching staples folded sheets through the spine. Each sheet makes four pages, so the finished page count is normally a multiple of four. Blank pages are not automatically an error: they may be needed to make the count work, but plan them as intentional parts of the publication.
As sheets nest, the inner sheets sit farther out at the open edge than the outer sheets. Trimming removes the uneven edge, and inner pages can lose more outside margin than outer pages. This effect is creep. The thicker the booklet and the bulkier the paper, the more it matters. Keep folios, rules, captions and critical images safely inside the outside margin, and let the printer control creep in imposition rather than attempting it with manual page shifts.
Perfect binding: allow for the spine and the gutter
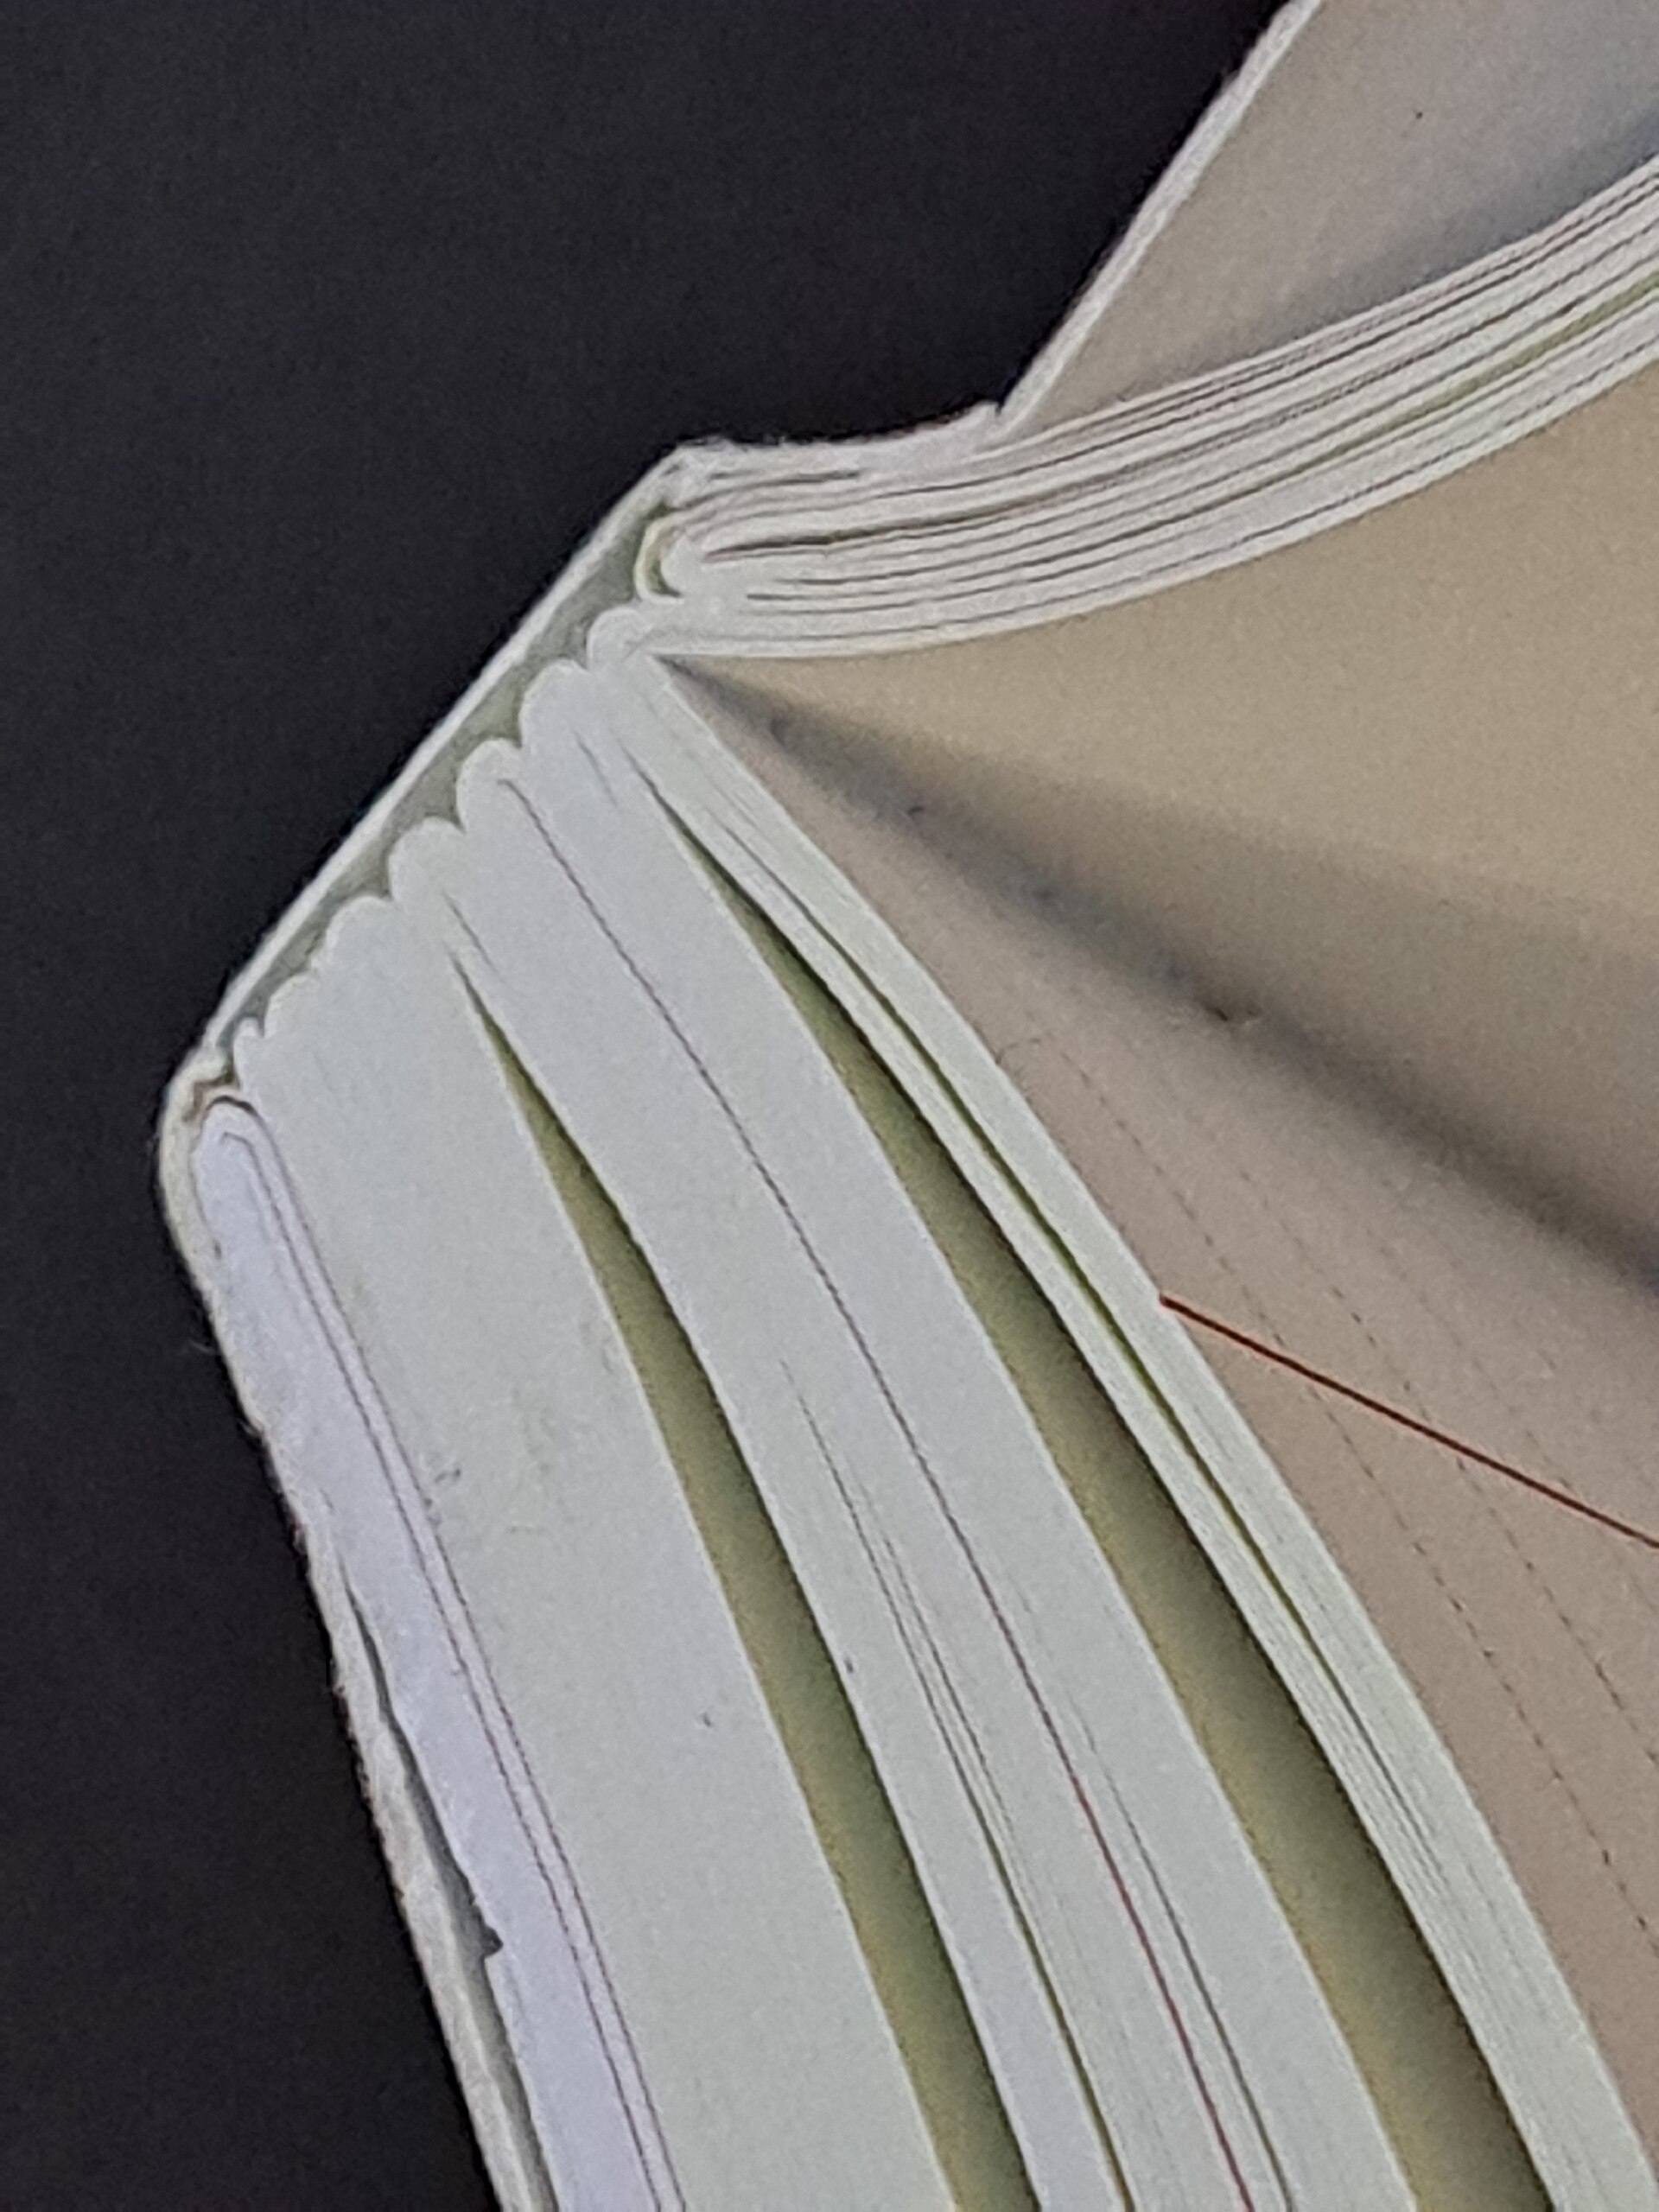
Perfect-bound books are built from a text block whose spine edge is prepared and glued into a cover. The cover is a spread: back cover, spine and front cover, usually with hinge areas. Never guess the spine width from page count alone. It depends on the number of leaves, paper bulk/caliper, coating, text-stock choice and the printer’s binding system.
Ask for the spine calculation or cover template once the paper and page count are sufficiently stable. A late text revision that adds sixteen pages may change the spine width and throw the cover alignment off. Keep important cover elements away from hinge and spine transitions, and allow a more generous inside margin in the text pages than a saddle-stitched equivalent.

Wire binding and other mechanical bindings need a no-go zone
Wire-O, coil and comb binding remove or perforate material along one edge. Keep type, page numbers, tables and important image details clear of the punching area. Leave sufficient allowance for the wire diameter and the turning motion of the page; the printer’s template is the only reliable dimension. Consider how divider tabs, fold-outs and laminated covers will pass through the binding machine.
Paper is part of the engineering
Paper choices change opacity, stiffness, fold behaviour, colour appearance and the apparent weight of a printed object. A smooth coated sheet supports sharp photographic detail and rich solids; an uncoated stock can feel warmer, more tactile and easier to write on. Neither is intrinsically more premium. The right choice comes from the content, brand, handling and print process.
Ask to see physical samples under the light in which the piece will be used. A bright white sheet can shift a neutral image cooler; an uncoated natural stock can soften small reversed type; a textured sheet can weaken fine rules or a tiny foil detail. Screens cannot show these effects reliably.
Weight is not thickness
GSM measures mass per square metre, not the thickness of an individual sheet. Two stocks with the same GSM can have different bulk/caliper, stiffness and spine contribution. For a perfect-bound cover, for example, the printer’s actual paper specification—not a generic GSM calculation—should determine the spine width.
Opacity matters in a text block. A dense photograph or large black panel can show through a light, translucent stock, especially under strong light. Test both sides of a sample before committing. If the project must feel substantial without becoming too thick, compare paper bulk and opacity rather than selecting only by weight.
Choose special finishes for a specific job
Special finishes work best when they give the reader one clear cue: a logo catches light, a blind emboss makes a mark discoverable by touch, a varnish separates a photograph from a matte field. Adding every option at once can make the hierarchy less clear and introduce difficult registration demands.
| Finish | What it does | Design and production notes |
|---|---|---|
| Lamination | Adds a protective film; matte, gloss and soft-touch versions change feel and reflection | Discuss fold/scoring, edge wear and whether foil or embossing follows it. |
| Aqueous or UV varnish | Adds protection or selective sheen | Spot varnish needs its own named separation and registration tolerance. |
| Foil stamping | Transfers metallic or pigmented foil with heat and pressure | Use the printer’s minimum type/rule sizes; avoid tiny isolated details and tight registration promises. |
| Emboss / deboss | Raises or recesses an area using a die | Paper, stock thickness, detail and adjacent printing affect the result; show a physical proof where possible. |
| Die cutting | Cuts a custom shape, window or edge | Keep a proper bleed around the cut and a safe area inside it; use a clearly named cut-contour spot colour. |
| Letterpress | Creates an inked impression, sometimes with tactile bite | Fine reverses and large solid fields behave differently from offset or digital print; choose stock with the printer. |
| Edge painting | Colours the trimmed edge of a thick stack | Requires enough thickness and can be vulnerable to handling; keep it as a material accent rather than a guarantee of a precise graphic line. |
Make a separate finishing layer
For spot varnish, foil, emboss, deboss, white ink or a dieline, create a separate top-level layer in the source document. Give it the exact name the printer requests and use a spot swatch with the agreed name. The swatch’s on-screen colour is only a visual locator; its name and separation status carry the production instruction.
Set objects on that layer to overprint only if the printer’s specification calls for it, then inspect them in Acrobat Output Preview. Do not turn a finish into a normal CMYK colour just so it looks plausible on screen. Supply a clean visual proof alongside the production PDF if that helps the printer understand the intended result, but do not substitute the visual proof for the separation-aware artwork.
For a full plate inspection routine, see Separations, overprint and transparency.
Build tolerances into the design
Commercial print and finishing are accurate processes, but no process is infinitely exact. Trimming, folding, die cutting, foil registration and binding all have allowable movement. Designs that put a hairline border exactly on the trim edge, align tiny type to a fold, or place foil tightly around a printed colour are designed to expose that movement.
Build in tolerance instead:
- Extend backgrounds and images through the printer’s required bleed.
- Keep critical type, QR codes, rules and logos inside the specified safe area.
- Avoid thin borders that must sit perfectly parallel to a cut edge.
- Give special finishes enough separation from type and from other print elements.
- Do not place a full-bleed image, a delicate rule and a fold in the same critical location without testing it.
- Ask about minimum line weights, type sizes and gaps for each finishing method.
The commonly used 3 mm bleed is not a universal production rule. A large-format or die-cut job may require more; a specialist template may prescribe a different value. Read our bleed guide for the underlying principle, then follow the job specification.
Decide how the PDF will be supplied
Most printers want a PDF of single reader’s pages, with bleed and no added imposition marks unless they request otherwise. They will impose the pages onto press sheets according to their equipment, paper, finishing plan and creep compensation. Sending manually imposed printer’s spreads makes it harder for them to use their workflow and can create wrong page order after binding.
Your PDF needs the final trim size, intended bleed and correct page order. The printer needs a clear job ticket stating the final format, page count, binding, stock, finishes and proof approval process. A custom cover template, dieline or finishing specification belongs with that job; do not replace it with a generic online diagram.
Use ISO press-sheet sizes: RA and SRA to understand why a press sheet is larger than the finished piece, but do not design to the press sheet unless you have been asked to supply imposed work.
Proof the physical choices, not just the colours
A digital PDF proof is excellent for checking content, page order and general layout. It cannot reliably prove paper tactility, fold cracking, foil reflection, emboss depth, binding strength or the exact effect of a varnish. For a complex or colour-critical project, agree the proof method before the production deadline.
A useful staged proofing routine is:
- Review a digital PDF for copy, order, geometry and obvious production errors.
- Make a cut-and-fold paper dummy at full size for panels, covers and page turns.
- Review stock and finish samples under normal viewing conditions.
- Request a production proof, press proof or finishing sample when the result is critical.
- Sign off the exact version, stock and finishing combination—not an earlier visual approximation.
Record changes. If a stock or binding changes after approval, revisit the relevant parts of the layout rather than assuming a proof on one construction approves every construction.
The printer conversation that saves the job
Send a concise brief early. It should state the finished and open sizes, page count, quantity, process, stock preferences, binding, folds, finishes, delivery date and any known colour requirements. Include a low-resolution visual PDF or mock-up when a sequence or special finish could be misunderstood.
Then ask the questions that are expensive to answer too late:
- Which binding method suits this page count and stock, and what are its limits?
- Does the cover need a spine calculation, hinge allowance or supplied template?
- Will the fold be scored, and what grain direction will the chosen stock use?
- What exact spot names, overprint settings and minimum details are required for each finish?
- What bleed and safe-area distances apply to trim, folds and die cuts?
- Should the PDF be single pages, spreads, or another specific format?
- What proof will show the risks that matter on this job?
A printer who receives this brief can identify constraints while they are still cheap to solve. A printer who receives only a finished PDF must either make assumptions, request a late correction or produce to a result you did not intend.
Preflight checklist for finishing and binding
- Finished, closed and open sizes are defined; fold panel widths come from an approved template.
- Page count, binding method, text stock and cover stock are confirmed.
- Spine width and hinge allowances come from the printer, not a rough calculation.
- Critical content clears the gutter, fold, punching area, trim and safe area.
- Bleed follows the job’s template, especially around die cuts and non-rectangular edges.
- Finishing layers use the exact approved spot names and have been inspected in separations.
- Minimum type, rule, gap and registration tolerances have been checked with the supplier.
- A physical dummy and the appropriate production proof have been reviewed before final release.